Hi everyone
I promised you I’d come back and tell you how it went at the Heartfelt Event in Sydney last weekend. Put simply IT WAS A BLAST! I love being surrounded by so many creative people who share my passion AND share their ideas too.
The Crafty Little Fox, the Princess and I drove in to Darling Harbour in one car which was interesting seeing as the Fox lives on the Central Coast, the Princess lives on the Northern Beaches & I live in Newington, but we made it work.
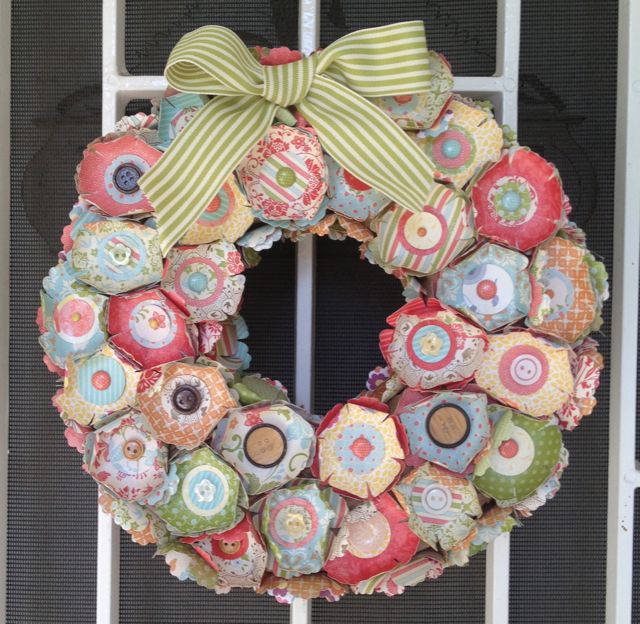
After a quick stop at Starbucks for much needed caffeine we registered and went along to our first session which was on decorations and was run by the wonderfully talented Sophie Zadeh who works for Stampin’ Up! Sophie is an artist and every time she presents I am in awe of her. You see, I don’t have an artistic bone in my body. Sometimes even drawing stick figures are a challenge for me which is why I appreciate talent in others so much. She showed us how to make a beautiful Christmas wreath and other gorgeous Christmas decorations. I am intending to make this wreath so keep your eyes open for it.
After Sophie Marelle Taylor demonstrated some gorgeous Christmas cards that she had made and showed us fantastic techniques to make our cards sparkle and shine. She also showed us a quick set of cards made using the Snow Festival Designer Printed Tags on p12 of the Holiday Catalogue. It’s such a great idea and as Marelle pointed out, you should buy more than you need for Christmas because they are double sided and the other side aren’t the least bit Christmasy so you can use them year round. Fantastic idea and the Tags are such great value. Marelle was followed by Donna Williams who showed us some beautiful ways to wrap gifts using a variety of Stampin’ Up! products. My favourite tip of hers was to buy cute boxes and decorate them and give them to your husband or kids, that way when they’ve taken their gift out of the box you can use it in your craft room for storage – GENIUS! The last presentation was by Ann Craig who demonstrated lovely hand made gifts including a gorgeous bird house made out of Designer Series Paper. It was just beautiful and not nearly as difficult as it looks.
After that it was off to lunch and a look at the display boards where demonstrators had brought in examples of their work to show. We also made a Christmas decoration to hang on the tree they had using the Ornament Keepsakes stamp set and matching Framelits. We used the amazing and fantastic Illuminate Glimmer Watermark Stampin’ Pad which I didn’t even know existed but is on p23 of the Holiday Catalogue. It works a little bit like Versamark but it has a sparkle to it and is just so beautiful. It’s going on my next order. For making our decoration and placing it on the tree, Aaron Scott, the Regional Manager of Stampin’ Up! gave us a gift which was the Heart of Christmas stamp which is on p15 of the Holiday Catalogue.
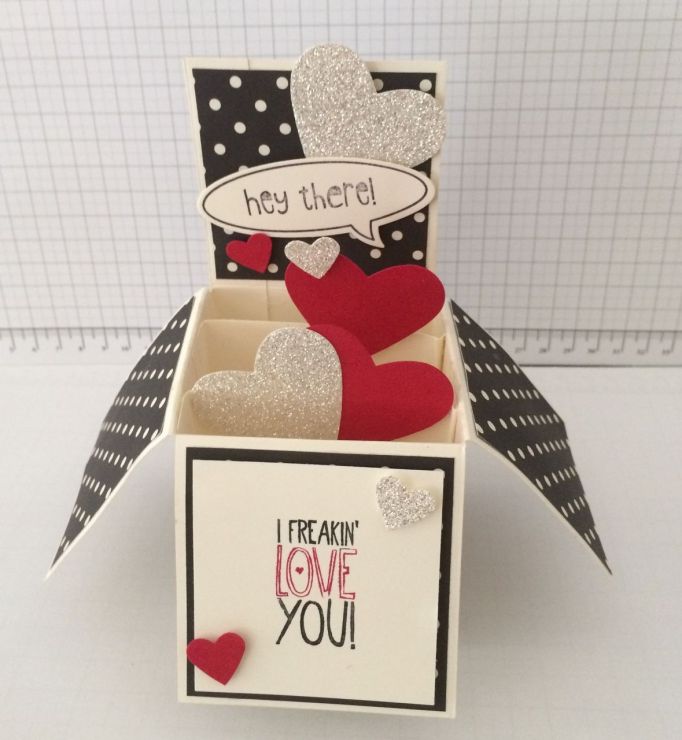
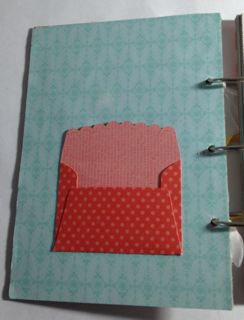
In the same room they had booths where demonstrators were showing various projects and also product playgrounds where you could play with products you may not have tried before such as brayers, wheels, the new heat tool and the Big Shot. I had a quick wander around but I wanted to get on to the Make and Takes. There were 4 to do but I only got 2 of them done! I never seem to get enough time to complete them all. Here are the 2 that I got done.

The project on the right of the photo is a Notebook cover and the other is a little box made using one of the tags from the Two Tags die and there are 4 little cards that go in the box. We used the Clockworks stamp set which we received for free on the day.
Before we knew it the day was over and we were heading home. It was such a fun day but I think we were all a little tired.
I’m already looking forward to next year’s Heartfelt Event.
Annette
 I am a terrible hoarder of Designer Series Paper. I love it so much and it’s always so beautiful that I just can’t bring myself to use it. I know, I’m crazy. For this project I decided to use up some of the paper I had lying around my craft cupboard.


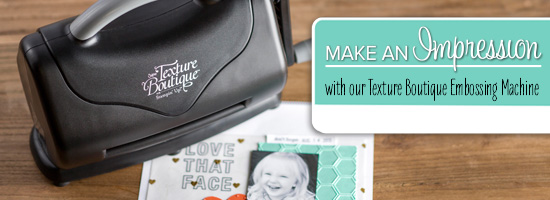 I just wanted to let you know about a fantastic product that Stampin’ Up! have introduced – The Texture Boutique Embossing Machine. It’s like a baby Big Shot except that it is purely for embossing. It uses the Textured Impressions embossing folders that are available in our catalogues. The best thing about this little machine is the price – $49.95.